
Table of Contents
This guide shows you how to add a new lead, fill in the key details, and move them through your custom enrollment workflow until they become a student. This matters because your workflow keeps your team consistent and makes sure every lead follows the same path to enrollment.
Step-by-step #
1. Create a new lead #
- From the dashboard, click Leads.
- Click New.
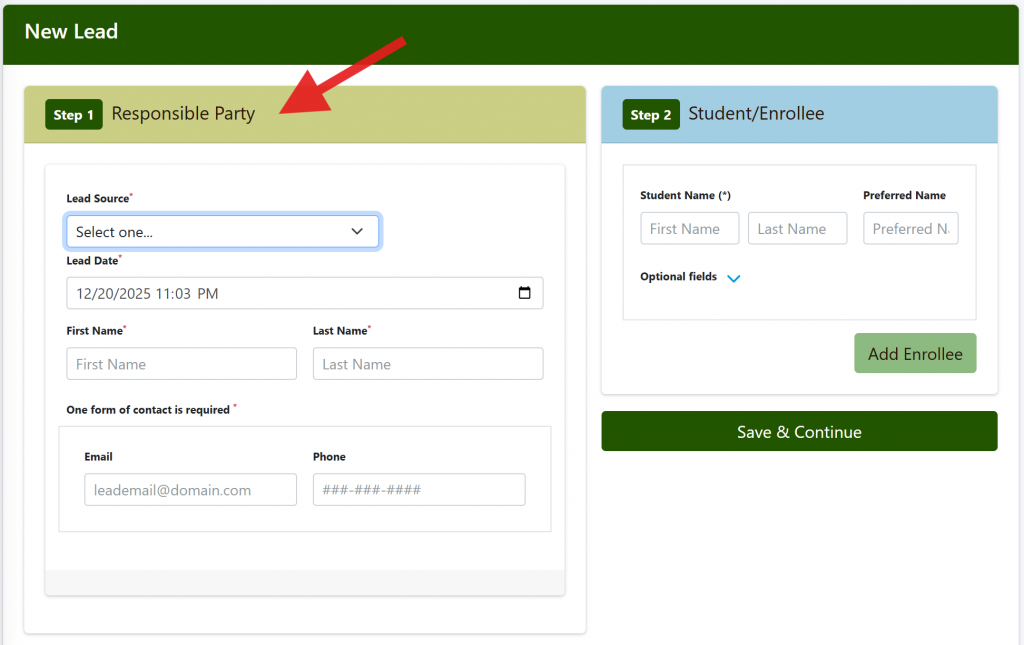
- Fill in the basics:
- Lead Source (where they came from)
- Lead Time (when they contacted you)
- Name
- Email or Phone (you only need one)
- Click Save.
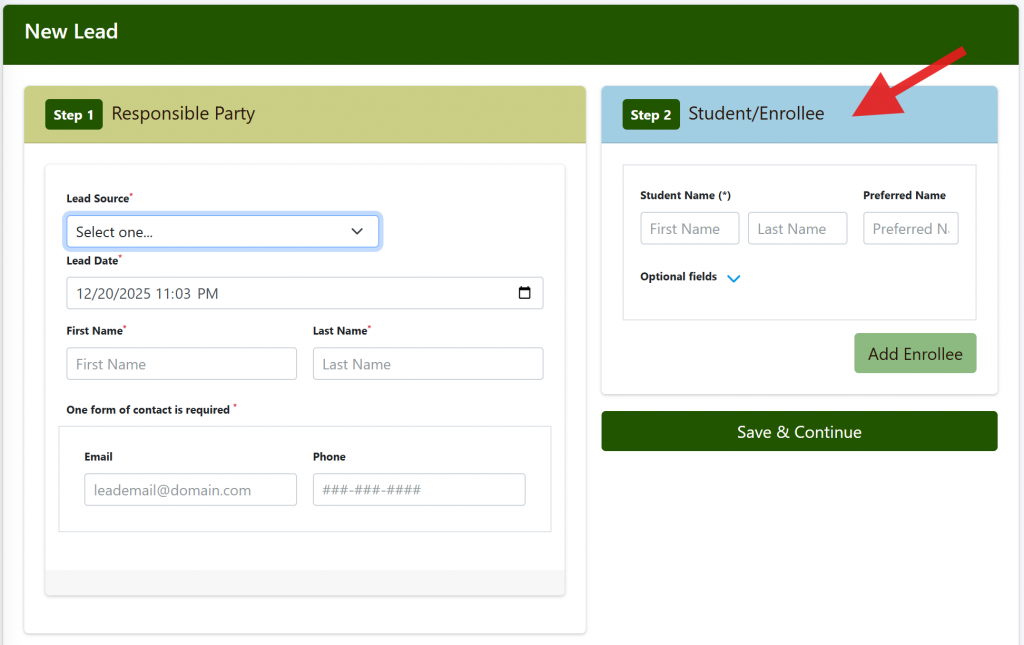
2. Add Student/Enrollee details #
- Enter the Student Name.
- Optional: Add extra details, including Preferred Name, Birthday, Grade, and Sex.
- If there are additional family members to be enrolled at this time, click the Add Enrollee button and enter their details.
- Click Save and Continue.
The system creates new Lead records for each Student/Enrollee. A tab opens for the first enrollee entered. To review other enrollees, click back to the Search tab, then click the appropriate Lead record.
3. Add Notes (optional) #
- Click the Notes tab.
- Click Add Note, then type your note.
- Click Save.
4. Find your workflow action button #
- Look at the top right of the Lead card for the large workflow action button.
- The button color matches your site branding.
- The button text depends on your custom workflow.
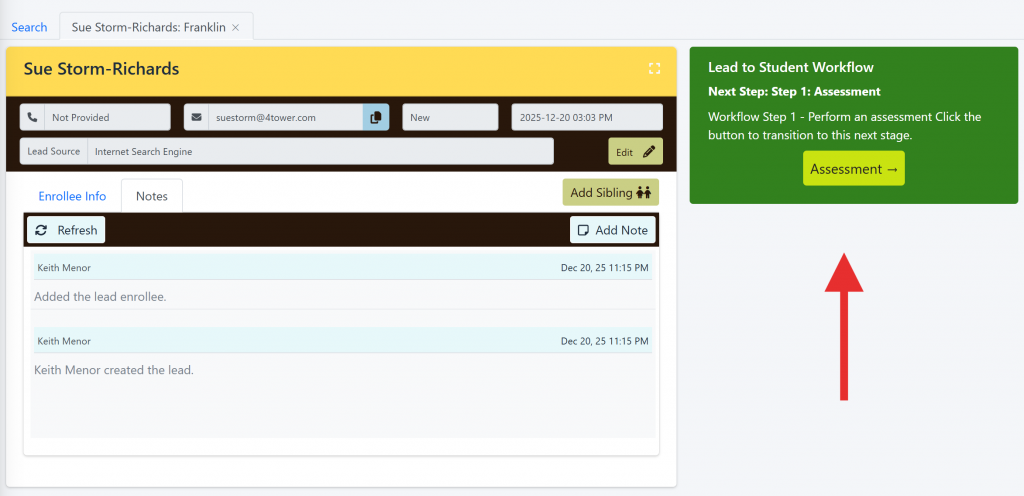
5. Complete the current workflow step #
- Click the large workflow action button to start or continue the next step.
- If the step has required fields, fill them in.
- Save when prompted.
6. Keep moving through workflow stages #
- Repeat this pattern for each stage:
- Click the large workflow action button
- Complete any required or optional fields for that step
- Save
- If your workflow includes checklists or status boxes (like questionnaires or assessments), review them as you go so you know what is complete.
7. Convert the lead to a student #
- When you reach the final workflow step, click the last large workflow action button.
- Confirm if prompted.
After this final step, Foundation Roster closes the lead and creates a new student. You can find the new student in your Students area.


